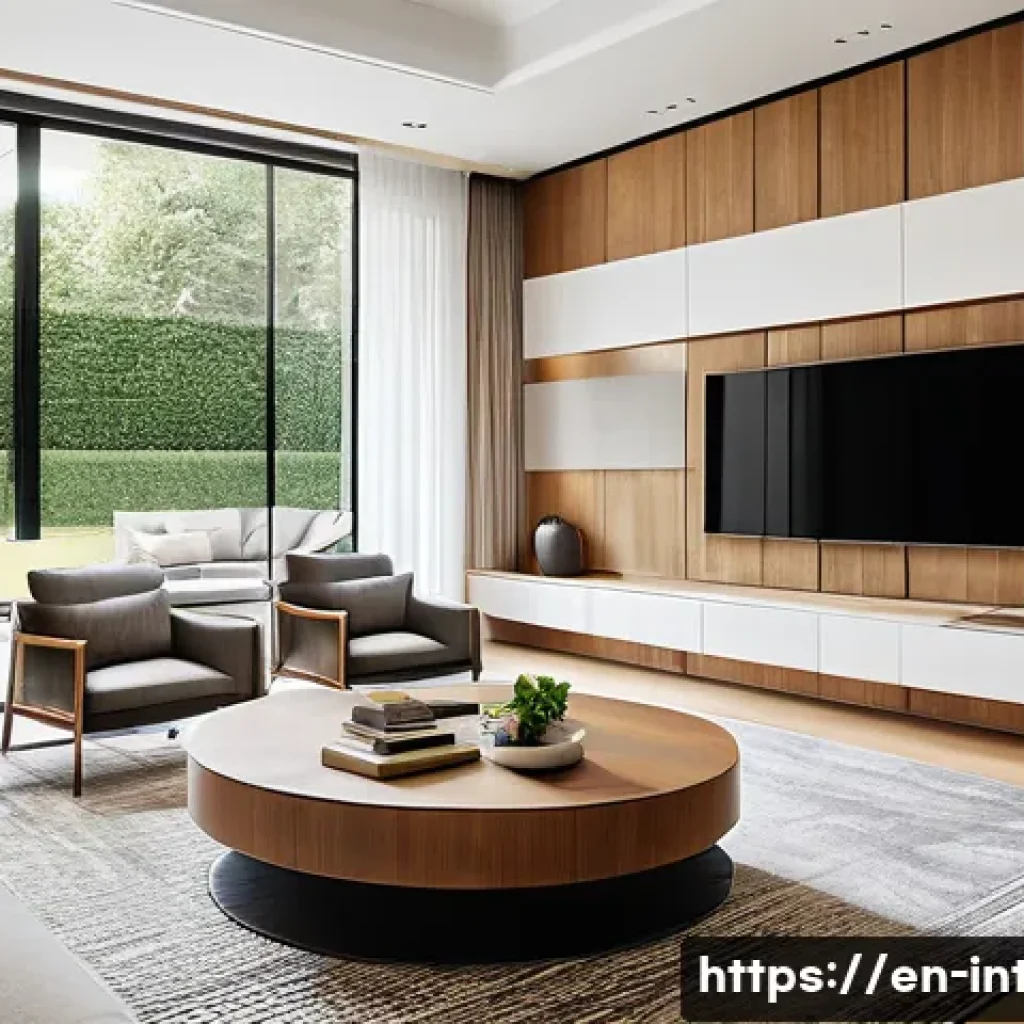
Preparing for the interior design certification practical exam can feel overwhelming, especially when you’re unsure what to expect. Understanding past exam questions is a smart way to boost your confidence and sharpen your skills.
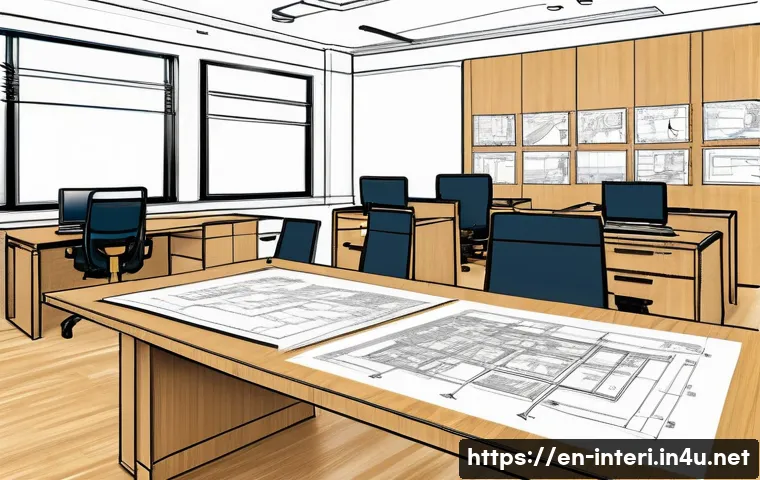
From layout planning to material selection, these questions often highlight key areas where candidates struggle the most. Having firsthand experience with these problem types can make a huge difference on test day.
If you want to approach the exam with clarity and ease, getting familiar with previous practical questions is essential. Let’s dive into the details and explore what you need to know!
Mastering Space Planning Techniques
Understanding Functional Zoning
Grasping how to divide a space into functional zones is crucial for the interior design practical exam. In my experience, this is where many candidates hesitate because it involves balancing client needs, circulation paths, and furniture placement.
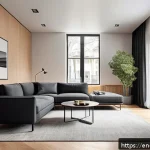
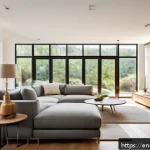
For instance, when designing a residential living room, you must clearly separate the seating area from the entertainment or dining spaces without making the room feel cramped.
Drawing bubble diagrams or block plans early in your process really helps visualize these zones effectively. I found that practicing these sketches under timed conditions improved both speed and accuracy for the exam.
Optimizing Traffic Flow
One common pitfall I noticed during my preparation was neglecting how people move through a room. The exam often tests your ability to create smooth, unobstructed pathways that connect different areas logically.
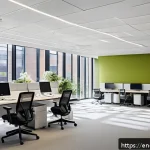
For example, in a commercial office layout, ensuring employees can move easily between desks, meeting rooms, and amenities without crossing busy corridors is key.
To get this right, imagine walking through the space yourself and adjust layouts until the flow feels natural. Incorporating ergonomic standards and minimum aisle widths into your design can also earn valuable points.
Balancing Aesthetics and Functionality
While the exam focuses on practical skills, aesthetics cannot be ignored. Candidates sometimes overemphasize technical details and overlook how the space looks and feels.
During my practice sessions, I made a habit of reviewing my designs from a user’s perspective—asking if the space feels welcoming, cohesive, and comfortable.
Using principles like symmetry, contrast, and rhythm can elevate your layout. Remember, an effective design doesn’t just work well; it also delights the user visually and emotionally.
Selecting Materials and Finishes Wisely
Matching Materials to Usage Requirements
Choosing the right materials is a frequent challenge in the practical exam. You’ll often need to justify your selections based on durability, maintenance, and environmental impact.
For example, selecting hardwood flooring for a high-traffic commercial lobby versus carpet for a cozy residential bedroom requires understanding material properties deeply.
I personally experimented with material samples to see how they react to wear and light, which helped me make more confident decisions during the test.
Incorporating Sustainable Options
Sustainability is becoming a bigger focus in design exams. Candidates who can suggest eco-friendly materials like bamboo flooring, low-VOC paints, or recycled glass tiles demonstrate both awareness and responsibility.
From my experience, integrating these options into your answers not only shows technical knowledge but also aligns with current industry trends. If you’re unsure, familiarize yourself with certifications like LEED or WELL to add credibility to your material choices.
Understanding Color and Texture Impact
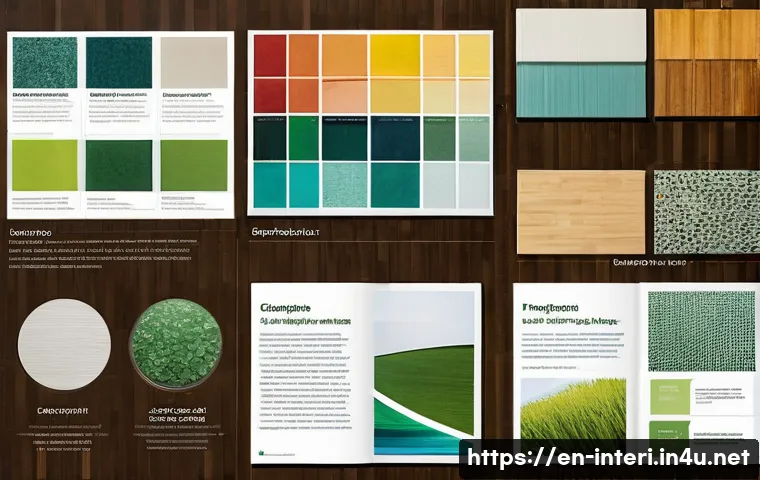
Beyond technical specs, how materials affect the sensory experience is critical. Colors and textures influence mood and perceived space size, which the exam may test through mood boards or sample boards.
I learned that combining rough textures with smooth finishes or contrasting warm and cool tones can create dynamic, inviting spaces. Practicing color theory and experimenting with tactile samples sharpened my ability to communicate design intent clearly.
Developing Accurate Technical Drawings
Mastering Scale and Proportion
Technical drawings are the backbone of the exam, and getting scales right is non-negotiable. I remember initially struggling with converting measurements correctly but improved by repeatedly practicing with scale rulers and digital tools.
Accurate proportion ensures your drawings communicate the design clearly to contractors and clients alike. During the exam, double-checking your scales saved me from costly mistakes.
Labeling and Annotation Best Practices
Clear labeling can make or break your technical submission. Each element—doors, windows, finishes—needs precise annotation to avoid ambiguity. I developed a checklist to ensure every drawing included essential notes like material types, dimensions, and fixture specifications.
This habit helped me avoid losing marks for incomplete or unclear diagrams.
Using Software vs. Hand Drawing
While some exams allow digital submissions, others require hand-drawn plans. Practicing both methods is essential. Personally, I found that hand drawing helped me understand spatial relationships better, while software like AutoCAD sped up revisions.
Balancing proficiency in both gave me flexibility during the exam and boosted my confidence.
Effective Time Management Strategies
Breaking Down the Exam Tasks
The practical exam can feel like a race against the clock. I found that dividing the exam into smaller, manageable tasks—like 15 minutes for zoning, 20 for material selection, and so on—kept me on track.
Having a mental or written timeline prevents getting stuck on one section and ensures every part receives attention.
Prioritizing High-Impact Questions
Not all questions carry equal weight or difficulty. I learned to skim through the entire exam first, then tackle questions where I could score high marks quickly.
This approach builds momentum and confidence, reducing stress for more complex problems later.
Allowing Time for Review
Saving 10-15 minutes at the end to review your work is a game changer. I used this time to catch simple mistakes, improve annotations, and ensure consistency across drawings and notes.
This habit boosted my final score significantly.
Communicating Design Intent Clearly
Creating Concise Presentation Boards
Presentation boards are your chance to convey the essence of your design visually and succinctly. I noticed successful boards use a balanced mix of images, sketches, and text without overwhelming the viewer.
Keeping descriptions clear and jargon-free makes your ideas accessible to both technical and non-technical audiences.
Practicing Verbal Explanation Skills
Sometimes, you’ll need to verbally explain your design decisions. Practicing this aloud helped me organize my thoughts and deliver confident, persuasive explanations.
Using real-world examples, like how a material choice improves durability or sustainability, makes your rationale stronger and relatable.
Anticipating Examiner Questions
Expect follow-up questions on your solutions. Preparing answers to common queries about budget constraints, client preferences, or technical challenges helped me stay composed during oral exams.
This preparation conveys professionalism and thorough understanding.
Common Pitfalls and How to Avoid Them
Overcomplicating Designs
It’s tempting to impress examiners with intricate layouts or exotic materials, but simplicity often wins. Overcomplicated designs can confuse examiners and increase your chance of errors.
I learned to focus on clean, functional solutions that meet the brief without unnecessary complexity.
Ignoring Building Codes and Regulations
Failing to consider local building codes can cost you dearly. Even if the design looks great, non-compliance can invalidate your work. I kept a checklist of critical regulations handy during practice to ensure everything aligned with safety and accessibility standards.
Neglecting Ergonomic Considerations
Comfort and usability are core to good interior design. I observed that candidates who overlooked ergonomic factors like seat heights, countertop levels, or lighting angles lost important marks.
Testing your layouts against ergonomic guidelines ensures your spaces are livable and practical.
| Exam Focus Area | Key Tips | Common Mistakes |
|---|---|---|
| Space Planning | Use bubble diagrams; consider flow and zoning carefully | Ignoring traffic flow; overcrowding zones |
| Material Selection | Match materials to function; include sustainable options | Poor justification; ignoring maintenance or environmental impact |
| Technical Drawing | Accurate scales; clear labels; practice both hand and digital drawing | Scale errors; missing annotations; unclear drawings |
| Time Management | Break tasks down; prioritize; allow review time | Spending too long on one section; no review |
| Communication | Clear presentation boards; practice verbal explanations | Overloading boards; vague explanations |
Conclusion
Mastering space planning and material selection is key to excelling in the interior design practical exam. By focusing on clear communication, accurate technical drawings, and effective time management, you can confidently deliver professional and thoughtful designs. Remember, balancing functionality with aesthetics and sustainability will set your work apart. With consistent practice and attention to detail, success is within reach.
Useful Tips to Remember
1. Break your design process into clear functional zones early to improve flow and usability.
2. Prioritize smooth traffic paths to enhance comfort and accessibility.
3. Choose materials not only for durability but also with sustainability and maintenance in mind.
4. Practice both hand drawing and software techniques to stay versatile.
5. Always allocate time to review your work, catching mistakes before submission.
Key Takeaways
Successful exam performance hinges on simplicity, compliance, and user-centered design. Avoid overcomplicating layouts, stay aligned with building codes, and incorporate ergonomic principles. Clear labeling and concise presentation boost clarity, while strategic time management ensures balanced attention across tasks. Ultimately, demonstrating both technical skill and design empathy will leave a lasting impression on your examiners.
Frequently Asked Questions (FAQ) 📖
Q: What types of practical tasks should I expect in the interior design certification exam?
A: Typically, the practical exam focuses on real-world skills like space planning, material and color selection, and creating functional layouts. You might be asked to draft a floor plan based on specific client needs or choose appropriate finishes for a particular environment.
From my experience, having a solid grasp on how to balance aesthetics with functionality is crucial. Practicing these tasks with sample projects beforehand really helped me feel more confident and prepared on exam day.
Q: How can reviewing past practical exam questions improve my performance?
A: Reviewing previous questions gives you insight into common challenges and the examiners’ expectations. It helps you identify patterns, such as frequent focus on lighting design or ergonomics, so you can prioritize your study accordingly.
Personally, I noticed that practicing with real exam-style questions sharpened my problem-solving speed and reduced anxiety. It’s like having a dress rehearsal; you get comfortable with the format and types of decisions you’ll need to make, which makes the actual test much less intimidating.
Q: What strategies can I use to manage time effectively during the practical exam?
A: Time management is key in the practical exam since you’ll need to balance creativity with precision under pressure. I found it helpful to quickly outline my approach before diving in—breaking down the task into smaller steps like initial sketching, material selection, and final detailing.
Also, don’t spend too long on any one part; if you get stuck, move on and come back if time allows. Practicing timed mock exams beforehand trains you to allocate your time wisely and keeps your workflow smooth during the actual test.