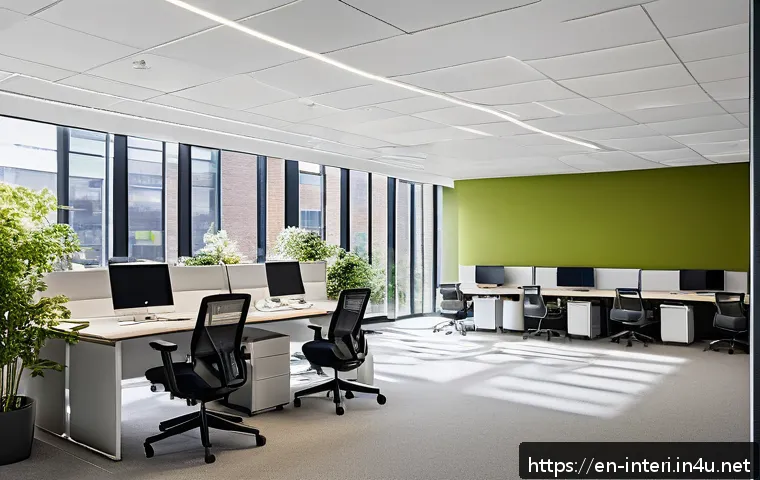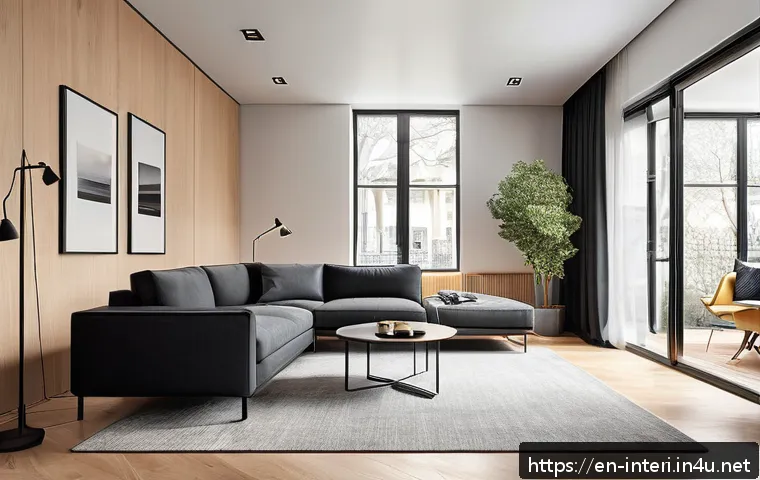
Navigating the pressures of an interior architecture practical exam can feel overwhelming, especially with evolving design trends and stricter evaluation standards.
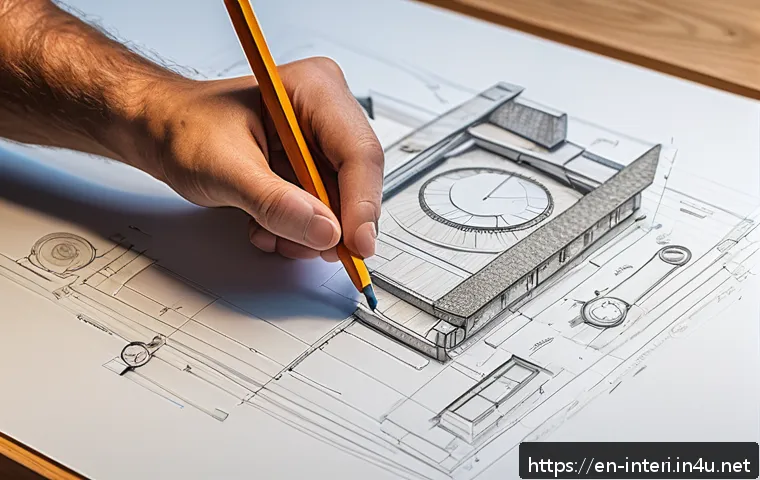
Lately, the emphasis on blending creativity with technical precision has never been higher, making preparation more crucial than ever. If you’re aiming to stand out and demonstrate both skill and confidence, having a clear, step-by-step approach is key.
In this guide, you’ll discover essential tips and strategies that I’ve personally found invaluable, ensuring you walk into your exam room ready to impress.
Let’s dive into the ultimate checklist that will help you master your practical exam with ease and assurance.
Mastering Time Management for Exam Day Success
Prioritizing Tasks to Maximize Efficiency
When you step into the exam room, the clock is your biggest competitor. It’s crucial to prioritize tasks based on complexity and time consumption. Start by quickly scanning the entire project brief to identify which parts need more attention.
Allocate more time to the sections that carry higher weight or require detailed technical execution, like drafting floor plans or detailing materials.
Personally, I found that breaking down the exam into manageable chunks helped me avoid panic. For example, spending the first 10 minutes organizing my workspace and mentally mapping out my approach set the tone for steady progress.
Avoid getting stuck on one element early on—if something feels tricky, mark it and move on. Returning to difficult parts with fresh eyes often saves time and improves quality.
Setting Mini-Deadlines for Each Section
A practical exam is not just about completing the work but doing so within a strict timeframe. I always recommend setting mini-deadlines for each portion of your project.
For instance, give yourself 30 minutes to complete the initial layout, 45 minutes to develop elevations, and so forth. This internal pacing keeps your momentum going and prevents last-minute rushes.
Use a watch or timer discreetly to keep track without losing focus. When I practiced this method, it helped me maintain a balanced pace, ensuring all parts of my design received adequate attention without compromising the overall quality.
Remember, it’s better to have a complete but slightly less detailed project than an unfinished masterpiece.
Buffer Time for Review and Adjustments
One of the biggest game-changers I experienced was deliberately reserving time for review. After completing your draft and final touches, spend at least 10-15 minutes double-checking measurements, annotations, and overall coherence.
This buffer time allows you to catch small errors that could cost valuable points. It also offers a moment to refine your presentation, enhancing clarity and professionalism.
During my exams, this review phase often turned average drawings into polished submissions. It’s also psychologically reassuring—knowing you have a final check helps reduce anxiety and builds confidence as you hand in your work.
Optimizing Your Drawing Techniques for Clarity and Impact
Balancing Precision with Artistic Flair
Technical accuracy is the backbone of interior architecture exams, but that doesn’t mean your drawings have to be dry or uninspired. I learned that combining clean lines with subtle artistic touches can make your work stand out.
For example, use varying line weights to differentiate between structural elements and furniture, adding depth without clutter. Incorporating light shading or texture to indicate materials can also elevate the visual appeal.
From experience, examiners appreciate when candidates demonstrate both technical control and a sense of design sensibility. It shows you’re not just following instructions but thinking like a professional interior architect.
Leveraging Digital Tools and Hand Drafting
Depending on the exam format, you might have access to digital tools or be restricted to hand drafting. If allowed, using CAD software or tablets can speed up the process and improve precision.
However, relying solely on digital tools without mastering hand drawing can be risky. I always recommend practicing both methods extensively before the exam.
When I combined hand sketching for initial concepts with digital refinement, my workflow became more flexible and efficient. This hybrid approach also helped me adapt if technical issues arose during the test.
Remember, no tool is a substitute for a solid understanding of design principles and spatial reasoning.
Effective Use of Color and Materials Representation
Color can be a powerful communication tool in your practical exam, but it must be used thoughtfully. Overdoing it can distract, while underusing it may make your design appear flat.
I found that selecting a limited palette to highlight key areas or materials worked best. For instance, subtle earth tones for wood finishes or soft blues for glass surfaces create a realistic impression without overwhelming the drawing.
Experimenting with colored pencils or markers during your practice sessions helps you develop a consistent style. Additionally, including a material legend clarifies your choices for examiners, reinforcing your attention to detail and professionalism.
Enhancing Conceptual Clarity Through Thoughtful Presentation
Structuring Your Work for Logical Flow
A well-organized presentation can make or break the impression you leave. When I prepared for my exams, I always ensured my drawings followed a logical sequence—from site analysis and concept sketches to detailed plans and sections.
This narrative flow guides the examiner through your design thinking, making it easier to follow and appreciate your solution. Use clear titles, numbering, and consistent symbols throughout your sheets.
Avoid overcrowding by leaving enough white space, which helps important elements stand out. A neat layout signals professionalism and respect for the evaluation process.
Incorporating Annotations and Notes Effectively
Annotations are not just labels; they’re your voice explaining the design choices. I’ve found that concise, purposeful notes help highlight key features, material selections, and spatial relationships.
When writing annotations, avoid jargon or vague statements. Instead, be clear and direct—for example, “Maximizing natural light with large south-facing windows” or “Using sustainable cork flooring for acoustic comfort.” This level of detail demonstrates your understanding of practical design considerations.
During my exam, well-placed annotations often sparked positive comments from examiners, showing I thought beyond aesthetics.
Preparing a Strong Concept Statement
If your exam requires a written concept statement, treat it as a mini pitch for your design. Summarize your vision, the problem you’re addressing, and the key strategies you used.
I recommend keeping it concise—around 150-200 words—but impactful. Share your personal connection to the design or any innovative ideas you incorporated.
Writing this statement in advance and practicing it aloud helped me articulate my thought process confidently during presentations. A compelling concept statement ties your entire project together and leaves a lasting impression.
Ensuring Technical Accuracy and Code Compliance
Reviewing Building Codes and Regulations
Understanding relevant building codes and regulations is non-negotiable for any interior architecture practical exam. I can’t stress enough how much time I saved by studying the most common local codes related to accessibility, fire safety, and ventilation before the test.
During the exam, referencing these guidelines while designing prevented costly mistakes. For example, knowing minimum door widths or corridor clearances upfront allowed me to draft compliant layouts without second-guessing.
This preparation also gave me confidence to justify design decisions if questioned by examiners.

Double-Checking Measurements and Scales
Precision in measurements is critical, and errors here can undermine an otherwise excellent design. I made it a habit to frequently cross-check dimensions against the provided scale, especially after any adjustments.
Using scale rulers and verifying proportions helped me catch inconsistencies early. In one exam, this practice saved me from submitting a layout with a misplaced partition that would have conflicted with structural elements.
Remember, examiners look closely for accuracy, so investing extra effort here pays off.
Incorporating Sustainable and Practical Solutions
Sustainability is more than a buzzword—it’s becoming a core evaluation criterion. Incorporating eco-friendly materials, energy-efficient layouts, and adaptable spaces can set your project apart.
I included elements like natural ventilation paths and recycled material specifications in my designs, which examiners appreciated as forward-thinking.
Beyond impressing graders, thinking about sustainability aligns your work with real-world professional standards. Even small gestures like specifying LED lighting or water-saving fixtures demonstrate practical awareness.
Maintaining Composure and Confidence Under Pressure
Building Confidence Through Simulated Practice
One of the best ways I managed exam stress was through repeated timed practice sessions under realistic conditions. Simulating the exam environment helped me get comfortable with the pressure and sharpened my time management skills.
I treated these sessions like the real deal, limiting distractions and following all exam rules. Over time, this routine reduced my anxiety and boosted my confidence.
If you can, practice with peers or mentors who can provide feedback—this external perspective is invaluable.
Using Breathing and Focus Techniques
During the exam, moments of overwhelm are inevitable. I found simple breathing exercises incredibly helpful to regain focus. Taking a few deep, slow breaths calmed my mind and prevented panic from taking over.
Pausing briefly to stretch or shake out tension also refreshed my concentration. Remember, staying calm improves decision-making and creativity, which are crucial for a successful outcome.
Developing these mental habits before the exam day made a significant difference in my performance.
Visualizing Success to Stay Motivated
Mental preparation is as important as technical skills. I used visualization techniques where I pictured myself completing the exam confidently and receiving positive feedback.
This practice created a positive mindset that kept me motivated throughout my preparation. Visualizing success also helped me overcome self-doubt and maintain a proactive attitude.
When exam day arrived, I felt ready not just to complete the task, but to excel.
Essential Tools and Materials Checklist for Seamless Execution
Organizing Your Toolkit for Quick Access
Having your tools well-organized can save precious minutes during the exam. I recommend packing everything in a compact, easy-to-carry case with dedicated slots for pencils, erasers, rulers, and markers.
Labeling or color-coding items can speed up retrieval. On exam day, I arranged my tools in the order I’d use them, which minimized fumbling and kept my workflow smooth.
Don’t forget essentials like a sharpener and extra leads—running out mid-exam is a nightmare.
Preparing Backup Supplies
Mistakes happen, and equipment failures are common stress triggers. Bringing backup supplies, such as extra paper, pens, and batteries for digital devices, is a must.
I learned this the hard way after my stylus stopped working during a practice run. Having spares allowed me to keep going without losing focus. Also, pack a small cleaning cloth for your tools and screens to maintain clarity and precision throughout the exam.
Checklist for Digital Exam Requirements
If your practical exam includes digital components, double-check software versions, file formats, and hardware compatibility beforehand. Install updates well in advance and test your device to avoid last-minute glitches.
During my exams, I also prepared USB drives and cloud backups for easy file transfer and security. Familiarity with shortcuts and tool functions increased my efficiency, letting me focus on design instead of tech troubles.
| Tool/Material | Purpose | Tips |
|---|---|---|
| Mechanical pencils | Precise line work | Bring multiple leads and sharpen regularly |
| Scale ruler | Accurate measurements and scaling | Practice using different scales before exam day |
| Colored pencils/markers | Material and texture representation | Limit palette to avoid clutter |
| Drawing paper | Base for all sketches and drafts | Use high-quality, smooth paper for clean lines |
| Digital tablet/software | Efficient drafting and editing | Ensure full charge and backup files |
| Erasers (soft and precision) | Correct mistakes cleanly | Keep both types handy for different surfaces |
| Timer/watch | Time management | Use discreetly to maintain focus |
Conclusion
Mastering time management and refining your drawing techniques are essential steps toward exam success. By organizing your work thoughtfully and maintaining composure under pressure, you can deliver clear, professional presentations. Remember, preparation and practice are your best allies in turning challenges into opportunities on exam day.
Helpful Tips to Remember
1. Break your exam tasks into manageable sections to avoid feeling overwhelmed and ensure steady progress.
2. Set mini-deadlines for each part of your project to maintain a balanced pace and prevent last-minute stress.
3. Reserve time at the end to review and adjust your work, catching errors and polishing your presentation.
4. Combine hand drafting with digital tools to maximize flexibility and efficiency during the exam.
5. Practice breathing and visualization techniques to stay calm and confident throughout the testing process.
Key Takeaways
Effective exam performance hinges on thorough preparation, including familiarity with building codes and sustainable design principles. Organizing your tools and materials in advance minimizes distractions, while clear annotations and a strong concept statement enhance your design’s impact. Maintaining calm and confidence, supported by realistic practice, ultimately empowers you to showcase your skills with clarity and professionalism.
Frequently Asked Questions (FAQ) 📖
Q: uestionsQ1: How can I effectively balance creativity and technical accuracy during my interior architecture practical exam?
A: Striking the right balance starts with thorough preparation. Begin by mastering the fundamental technical skills—like drafting, spatial planning, and materials knowledge—because accuracy forms the backbone of your design.
Once you’re confident in those areas, let your creativity flow by experimenting with innovative layouts, color palettes, and textures that complement your technical plan.
In my experience, creating quick sketches and mood boards beforehand helps organize ideas without sacrificing precision. Remember, judges appreciate designs that are both imaginative and feasible, so aim for originality grounded in solid technical execution.
Q: What strategies can I use to manage time efficiently during the exam?
A: Time management is crucial, especially under exam pressure. I found it helpful to break down the entire task into smaller, manageable segments with specific time limits—for example, allocating 30% of your time to conceptualization, 50% to detailed drafting, and 20% to final touches and review.
Use a timer or keep an eye on the clock to stay on track. Also, avoid getting stuck perfecting one aspect; instead, move forward and come back for refinements if time permits.
Practicing mock exams under timed conditions beforehand really builds your pacing skills and reduces stress on the actual day.
Q: How can I demonstrate confidence and professionalism in my presentation?
A: Confidence shines through clear communication and a well-organized presentation. Prepare concise explanations for your design choices, linking them to both creative inspiration and technical rationale.
During your presentation, maintain good posture, make eye contact with evaluators, and speak with a steady, calm voice. I’ve noticed that rehearsing your presentation multiple times helps reduce nerves and polish your delivery.
Additionally, having neat, easy-to-follow visuals like clean drawings and digital renderings can significantly boost your professional image, making it easier for the examiners to appreciate your work fully.