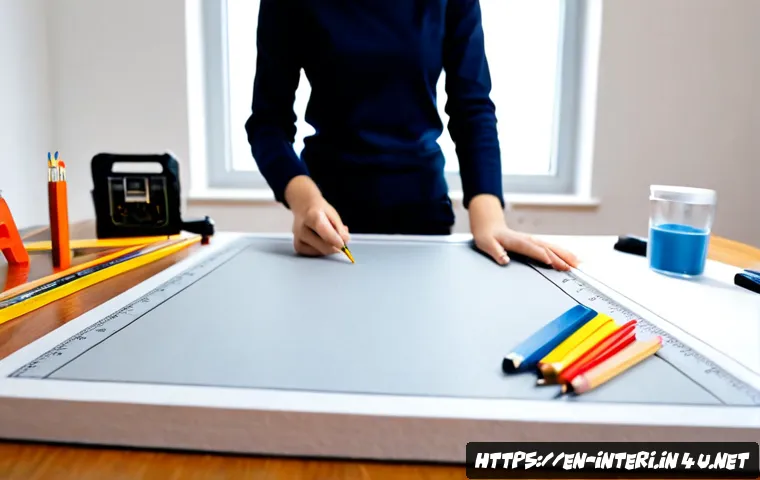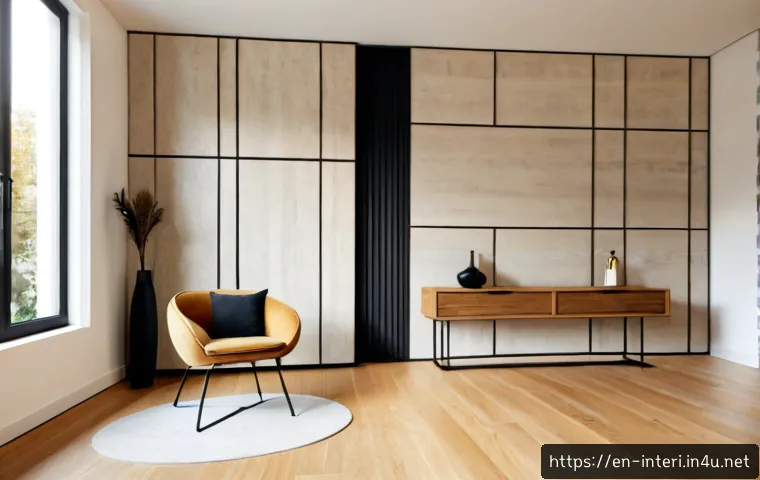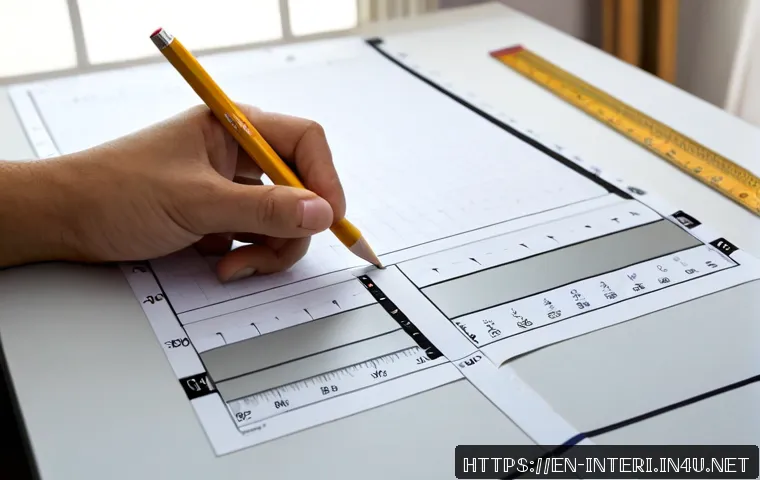
The most expensive interior architecture studio mistakes are usually incorrect scale, unverified dimensions, and buying materials before testing how they look and work.

Catching these issues early protects your drawings, models, presentation quality, and project budget. A clear review process also helps you decide whether a digital drawing, physical sample, scale model, or full-size mock-up is the right investment.
This matters when choosing drafting software, rendering tools, printing services, fabrication support, and supplier samples. You do not need to spend on every option, but you do need a reason for each choice.
The goal is a coordinated project that can be revised without unnecessary rework.
At a Glance
- Verify scale, units, and existing dimensions before developing detailed drawings or models.
- Use the least expensive review method that can reveal the risk: screen review, sample, scale model, or full-size mock-up.
- Keep drawings, material specifications, model choices, and presentation boards consistent from start to finish.
| Review Method | Best For | Cost and Speed | Risk It Can Reduce |
|---|---|---|---|
| Digital drawing review | Plans, dimensions, layout coordination, early revisions | Usually fast; depends on your drafting software workflow | Unit conflicts, missing dimensions, inconsistent layouts |
| Physical material sample | Color, texture, reflectivity, and finish comparison | Targeted expense; availability and shipping can affect timing | Choosing a finish from a screen image alone |
| Scale model | Spatial relationships, circulation, massing, and proportions | Moderate effort; material choice affects fabrication time | Scale and clearance problems that are hard to see on screen |
| Full-size mock-up | Critical junctions, finish behavior, and installation questions | Higher commitment; use selectively | Unexpected appearance or construction limitations |
The Errors That Cause the Most Rework in Interior Design Studio
The fastest way to lose time is to develop an attractive concept on top of unreliable information. Start with the basic conditions of the project, then move into details. Scale, dimensions, circulation, and drawing coordination should be treated as design inputs rather than final submission tasks.
Confirm scale, units, and existing dimensions before drawing details
A small measurement error can grow when a plan is scaled, printed, modeled, or transferred to an existing site condition. Check the drawing units before importing references into CAD software or a 3D modeling program. If you are working on a renovation or adaptive-reuse studio, confirm which dimensions are verified and which are assumptions. Do not build detailed cabinetry, partitions, or joinery around an unconfirmed measurement.
Treat circulation and clearances as design requirements, not final edits
A layout can look convincing in plan while still feeling difficult to move through. Test routes around furniture, doors, counters, displays, and service areas early. This is especially important in hospitality and retail concepts, where traffic flow affects both the experience and the logic of the scheme. Accessibility requirements, fire safety rules, building codes, and local regulations may influence the layout, so check the requirements that apply to the project location.
Check whether drawings, models, and presentation boards tell the same story
Your plan, elevation, section, render, material board, and physical model should describe the same project. A common presentation problem is showing one finish in the render, another on the specification sheet, and a third in the model. Before submission, compare each document side by side. Make sure room names, key dimensions, finish labels, and design features are aligned.
Choose the Right Review Method Before Spending on Materials or Fabrication
Not every decision needs a premium sample set, outsourced fabrication service, or large-format print. The useful question is: what uncertainty am I trying to remove? Spend where the review method can genuinely reveal a problem that would otherwise remain hidden.
Digital drawings vs. scale models vs. full-size mock-ups
Digital drawings are efficient for coordination and revisions. A scale model can reveal spatial relationships, visual weight, circulation, and clearance issues. A full-size mock-up is more suitable when a particular edge detail, material transition, or finish appearance is central to the design. For a student project, a focused mock-up may be more useful than trying to fabricate every part of the scheme.
When low-cost study materials are enough—and when real finish samples matter
Card, foam board, paper, chipboard, or simple sheet materials can be appropriate for early study models. Their job is to test space, form, and sequence. Use real finish samples when color, texture, reflectivity, pattern, or installation direction affects the concept. Material appearance can change under different lighting, surrounding colors, and installation methods, so a screen image alone is not enough for a final material decision.
Comparing printing, laser cutting, 3D printing, and outsourced fabrication
Choose printing services when board scale, line clarity, and color consistency matter. Choose laser cutting when repeated flat components need clean, accurate cuts. Choose 3D printing when the form cannot be easily made from layered sheet material. Outsourced fabrication may help when campus equipment cannot produce the required result, but first check file requirements, turnaround expectations, material limits, and revision options. A fabrication quote is easier to evaluate when your files are clean and your scale is already confirmed.
Drawing, Modeling, and File Management Mistakes to Avoid
A strong concept can become difficult to present when the project file is disorganized. Good file management is not glamorous, but it protects your ability to revise when feedback arrives late.
Mixing units, scales, line weights, and annotation standards
Set standards before the drawing package expands. Keep units consistent between CAD files, 3D models, drawings, and print layouts. Use a clear line-weight hierarchy so walls, fixtures, furniture, dimensions, and annotations remain readable. If a drawing changes scale, recheck labels and dimensions rather than assuming everything will update correctly.
Ignoring layer structure, file naming, backups, and linked files
Use simple layer names that communicate purpose, such as existing conditions, proposed work, furniture, lighting, dimensions, and annotations. Save versions in a predictable format instead of overwriting the only working file. Linked render assets, reference files, textures, and external models should be stored and named consistently. A polished rendering subscription or advanced CAD software cannot solve a file structure that no one can revise.
Building visually attractive models that cannot demonstrate structure or spatial use
A model should answer a question. It may demonstrate ceiling height, a circulation route, a retail display sequence, or the relationship between old and new elements in an adaptive-reuse project. Avoid adding detail that hides the purpose of the model. If walls, openings, furniture, or material changes cannot be read clearly, simplify the model and label what matters.
Material and Specification Errors That Can Undermine a Concept
Material selection is more than choosing colors that work on a mood board. A finish must suit the intended application, surrounding conditions, and project narrative.

Selecting finishes from screen images alone
Digital images can help you narrow options, but they cannot fully show texture, sheen, pattern scale, or how a finish responds to light. Request samples when the finish is important to the concept. Compare them near the proposed neighboring colors and materials. For a hospitality concept, this may help assess atmosphere; for a retail project, it may help assess brand consistency.
Forgetting durability, maintenance, fire performance, and installation limits
A material can look suitable and still be unsuitable for its intended use. Review manufacturer documentation for the proposed application and consider maintenance needs, durability, fire performance, and installation limits. Do not assume that a finish suitable for one surface or room is suitable for every condition. Where codes or regulations apply, confirm the local requirements rather than relying on a general studio precedent.
Checking sample availability, minimum quantities, delivery timing, and alternates
Supplier lead times, minimum order quantities, shipping, and sample policies can affect the schedule and budget assumptions behind a project. Record an alternate material or finish for major selections when possible. This does not mean predicting current costs or lead times; it means identifying what must be checked before a decision becomes difficult to reverse.
Practical Checks for Different Interior Project Types
The same studio workflow does not fit every interior type. Use project-specific checks so the presentation is grounded in how the space is meant to be used.
Residential layouts: storage, kitchen workflow, and everyday clearances
In residential concepts, test the relationship between storage, furniture placement, kitchen workflow, doors, and daily movement. A beautiful living area can become less convincing if storage is ignored or a circulation route is blocked. Use plans and sections together to test overhead elements, joinery, and vertical storage.
Retail and hospitality concepts: traffic flow, durability, and brand consistency
Retail and hospitality projects benefit from a clear sequence: arrival, orientation, movement, pause, service, and exit. Check whether material choices support the intended atmosphere while remaining appropriate for the proposed use. Repeated graphic elements, fixtures, colors, and finishes should reinforce the same brand idea across drawings, renders, and presentation boards.
Renovation projects: existing-condition verification and hidden constraints
Renovation and adaptive-reuse studios require extra caution because existing conditions may not match assumptions. Mark verified information separately from items that need site confirmation. Existing structure, services, finishes, and concealed conditions can affect what is practical. Avoid presenting uncertain conditions as final facts.
Selection Criteria and Comparison Summary
Before final submission, compare options using a few practical criteria: revision speed, output quality, physical accuracy, file compatibility, material relevance, and schedule risk. Choose drafting tools that support your required drawing outputs and file exchange needs. Choose rendering subscriptions only if they improve the images or workflow you actually need. Compare printing options by final board size, line clarity, color review, and turnaround. For supplier samples and fabrication services, check intended application, file requirements, availability, shipping terms, and whether revisions are possible. For official details, technical documentation, or service conditions, check the relevant provider page before paying.
In Closing
Interior architecture studio work becomes more manageable when you test important decisions at the right time. Confirm the base information first, then use drawings, models, samples, and mock-ups to answer specific questions. A small, well-chosen review step can prevent larger presentation or fabrication problems later. The best final submission is not necessarily the most expensive one; it is the one with coordinated evidence behind its decisions.
Useful Things to Know
1. A scale model is often more useful when it tests circulation or proportion than when it simply copies render details.
2. Material samples should be viewed with nearby colors and under relevant lighting conditions when possible.
3. Clean CAD layers, naming conventions, and backup versions make late revisions less disruptive.
4. A supplier quote or fabrication service is easier to compare when the scope, scale, and required output are clearly defined.
Important Notes
Building codes, accessibility requirements, fire safety rules, permitting needs, current material prices, lead times, sample policies, and installation costs vary by location and provider. Confirm project-specific requirements with the relevant school, local authority, manufacturer documentation, supplier, or qualified project reviewer. A studio proposal may not require the same software, equipment, or consultant review as a professional project.
Frequently Asked Questions
Q1. What is the most common mistake in an interior architecture studio project?
A1. One common mistake is developing detailed work before confirming scale, units, and existing dimensions. That error can carry into plans, models, print layouts, and material assumptions.
Q2. Is it worth paying for material samples or a full-size mock-up for a student project?
A2. It can be worthwhile when the material’s texture, color, reflectivity, installation method, or junction is central to the project. For early spatial studies, low-cost model materials may be enough. Choose the review method based on the risk you need to test.
Q3. Which is better for an interior architecture presentation: a physical model, a 3D render, or both?
A3. They serve different purposes. A 3D render can communicate atmosphere and visual intent, while a physical model can reveal scale, circulation, and spatial relationships. Using both can be useful when each adds information that the other cannot show clearly.