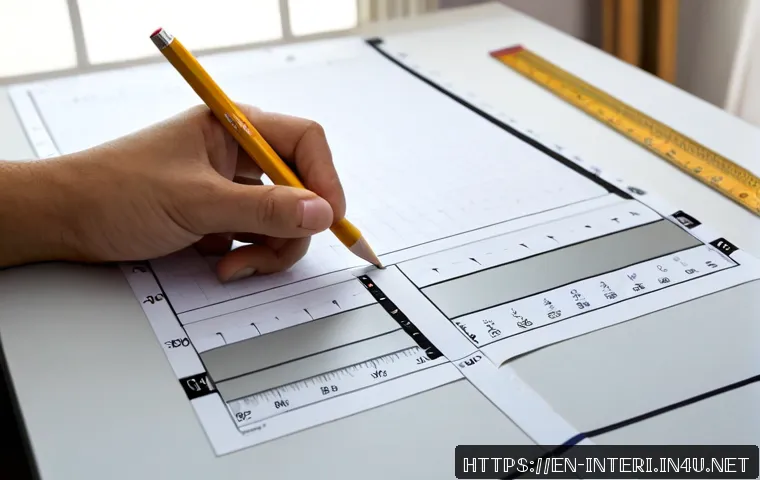
The fastest route to a stronger interior architecture practical exam performance is to understand the brief, rehearse under time limits, and review every drawing against a clear checklist.
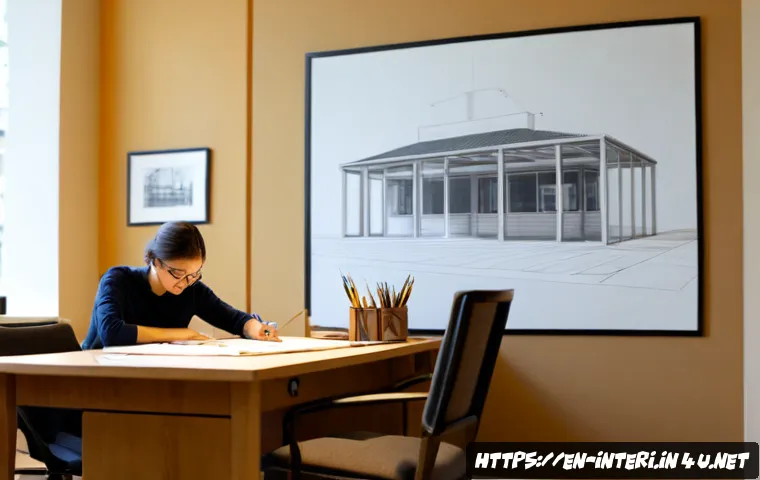
Focus on a usable layout, readable technical drawings, and a presentation that communicates your design intent before adding decorative complexity. A paid exam-prep course or tutoring can be useful when you need structured feedback, but it is not automatically the best choice for every candidate.
Start by identifying whether your main gap is planning, drafting speed, rendering, materials, or final presentation. Then choose the lowest-cost study option that directly improves that gap.
Always confirm the current format, permitted tools, submission rules, and scoring criteria with the relevant exam provider.
At a Glance
- Read the brief first: turn user needs, constraints, and required deliverables into a simple action list.
- Practice under time limits: timed work shows whether your real weakness is planning, drawing speed, rendering, or review.
- Choose support carefully: self-study, a prep course, tutoring, and digital tools solve different problems.
| Preparation Option | Best Fit | What to Compare Before Spending |
|---|---|---|
| Self-study | You can identify errors and keep a regular timed practice routine. | Cost of drafting tools, rendering supplies, practice briefs, and whether you can obtain useful feedback. |
| Group exam-prep course | You need a structure, deadlines, and repeated assignments. | Course scope, instructor feedback, included materials, drawing format, and whether practice matches your exam provider. |
| One-to-one tutoring | Your work is nearly complete but one recurring issue keeps lowering clarity. | Whether feedback targets your measurable gap: layout, drafting, annotations, perspective, or presentation. |
| Digital tool subscription | Your exam permits digital work and you already need faster production or clearer revisions. | Permitted software, learning time, export requirements, and whether software improves the work you must submit. |
What Actually Raises Your Score in a Practical Design Assessment
A practical design assessment commonly asks you to turn a brief into a clear, usable design proposal within a limited time. A visually ambitious idea can still become difficult to assess if the circulation is unclear, dimensions are missing, or drawings do not explain the proposal. Treat the submission as a communication task: another person should be able to see what the space does, who it serves, and how the main design decisions work together.
Start with the Brief, Constraints, and User Needs
Before drawing, underline the required rooms, users, functional relationships, deliverables, and any stated restrictions. Convert these into a short checklist. For example, separate “must include” requirements from design choices that can change later. This prevents a common problem: producing attractive sheets that fail to answer part of the brief.
Keep your concept simple enough to support fast decisions. A concept should guide space planning, materials, lighting, and presentation rather than become a slogan placed on a board at the end.
Prioritize Clarity, Scale, and Function Before Visual Polish
Start with the plan. Check that movement through the space is logical, that key areas connect sensibly, and that furniture or fixtures do not create avoidable conflicts. Then make the technical information readable with consistent scale, dimensions, labels, and annotations.
Technical accuracy and readability are often more valuable than adding extra visual effects. A clean plan, understandable elevation, and focused perspective usually communicate more than a crowded sheet with too many finishes or decorative marks.
Use a Final Five-Minute Compliance Check
Reserve a short final review period. Compare every sheet with the brief and look for missing labels, inconsistent scales, incomplete material notes, unclear dimensions, or drawings that no longer match each other. Check that the final presentation shows the required information rather than only the most visually appealing views.
Build a Study Plan Around the Skills You Need Most
Do not prepare by repeating the same type of drawing if it is not your weakest area. A timed practice routine is useful because it separates a slow drafting process from weak planning or unclear presentation. After each practice project, note what prevented completion and adjust the next session around that issue.
Space Planning and Circulation Exercises
Practice converting a short written brief into a bubble diagram, zoning plan, and developed layout. Ask simple questions: Where does the user enter? Which functions need to be close? Which activities need separation? Is there a clear route through the proposal?
Make circulation visible before you begin detailed furniture, materials, or perspective rendering. If the layout is unresolved, extra detail will only make revisions slower.
Faster Plans, Elevations, Sections, and Perspectives
Build speed through repeatable drawing order. Establish the boundary and scale, place major zones, add core elements, then apply dimensions and notes. For elevations, sections, and perspectives, decide early what each drawing needs to explain. A perspective can show atmosphere and material intent, while a plan may carry more of the functional information.
Use timed drills to learn where time disappears. It may be line work, lettering, repeated corrections, rendering, or deciding what to draw. The goal is not rushed work; it is a workflow that leaves room for review.
Materials, Lighting, and Finish Decisions That Support the Concept
Material boards and finish notes should support the proposal rather than introduce unrelated decoration. Select materials and lighting choices that reinforce the intended use, mood, and practical organization of the space. Keep notes direct and legible.
The required level of detail for sketches, boards, plans, elevations, and perspectives can vary. Verify what your assessment requires before purchasing specialist rendering supplies or preparing a detailed physical model.
Compare Self-Study, Prep Courses, and Personal Feedback
The best preparation choice depends on the gap you can observe in your own work. Buying the most comprehensive exam-prep course is not always efficient if you only need help with presentation hierarchy or technical annotations.
When a Structured Course Is Worth the Price
A structured course may suit candidates who need deadlines, practice briefs, sequence, and recurring review. Compare whether the course includes feedback on actual drawings, whether materials are included, and whether the assignments reflect the current assessment format. A broad interior architecture course may improve general skills but may not focus on the specific practical test requirements.
When Targeted Tutoring Offers Better Value
One-to-one tutoring can be a better fit when you have a specific repeat problem. For example, you may complete every timed task but receive unclear results because your plans lack hierarchy, your elevations do not align with the plan, or your final sheets do not explain the design intent. Bring completed practice work so the feedback can focus on visible patterns rather than general advice.
Choosing Drafting, Rendering, and Presentation Tools Within a Budget
Choose tools based on the permitted exam format and your working method. For a hand-drawn assessment, basic drafting and presentation tools may be more useful than a software subscription. For a digital assessment, confirm approved software and submission requirements before committing time to a new program.

When comparing drafting tools, rendering supplies, or portfolio coaching, look for compatibility, learning time, and direct relevance. Buy only what supports the work you are required to produce.
A Timed Workflow for Exam-Day Design Tasks
A timed workflow protects the most important parts of the submission: understanding the brief, resolving the layout, producing readable drawings, and checking compliance. Avoid spending too long on the first concept sketch when the final task requires several coordinated deliverables.
Allocate Time for Analysis, Layout, Drawing, and Review
Divide the available time into four stages: brief analysis, layout development, drawing and presentation, and final review. The exact balance depends on the assessment, but each stage needs a clear stopping point. If a layout remains uncertain, simplify it and move forward with a coherent solution rather than endlessly revising one area.
Create a Hierarchy of Required Drawings and Annotations
List the required drawings before starting. Identify which drawing carries the main technical information and which views explain concept, material, lighting, or experience. Use consistent labels so a reviewer can move easily between plan, elevation, section, perspective, and material information.
Keep Presentation Boards Legible Under Time Pressure
Leave enough visual space around drawings. Use a clear title, readable notes, and a limited number of strong images. A presentation board should guide the eye from overall layout to supporting details. If an annotation cannot be read or a visual does not support the brief, it may not earn its place.
Common Errors That Lower Otherwise Strong Submissions
Ignoring Dimensions, Accessibility, or Circulation Conflicts
Check dimensions, movement routes, and functional clearances against the brief and relevant assessment expectations. Do not assume that a polished rendering will hide an impractical layout. If accessibility is part of the stated requirements, make sure it is addressed clearly in the proposal.
Adding Detail Before Resolving the Layout
Detailed textures, furnishings, and shadows can consume time before the core design is sound. Resolve major zones and circulation first. Then add only the level of detail needed to make the scheme understandable.
Using Inconsistent Scales, Labels, and Material Notes
Inconsistency makes a submission harder to read. Keep drawing scales, titles, labels, dimensions, and material descriptions aligned across all sheets. A final checklist is especially useful for catching these small but important issues.
Selection Criteria and Comparison Summary
Choose the preparation option that addresses your measurable weakness, not the option with the longest feature list. If your layouts are incomplete, practice brief analysis and zoning. If your drawings are complete but repeatedly unclear, choose structured feedback from a course, tutor, or portfolio review service. If your hand drafting is sound but digital output is required, compare software training only after confirming permitted tools.
Before enrolling in a course or hiring a tutor, check whether they review practical exam-style work, explain feedback clearly, cover the format you need, and fit your budget. For drafting tools and presentation supplies, check whether they are permitted and useful for your specific submission method. Official format details and current conditions should be confirmed on the relevant exam provider’s page.
Conclusion
Strong practical exam work is usually clear before it is elaborate. Build a routine that begins with the brief, tests your work under time pressure, and ends with a short compliance review. Spend on a course, tutoring, tools, or software only when it solves a problem you can already identify in your practice work. A focused, readable proposal is easier to complete and easier to assess.
Useful Information to Keep in Mind
Keep a folder of timed practice files, sketches, and review notes so you can see recurring patterns. Use the same checklist after each practice task: brief compliance, circulation, scale, dimensions, labels, material notes, and legibility. This makes improvement easier to track than simply doing more drawings.
Important Notes
Exam duration, drawing scale, required deliverables, permitted software, hand-drafting requirements, physical model expectations, and passing criteria can differ by provider. Courses, tutors, software, and supplies vary in scope and feedback quality, and none can guarantee an individual result. Verify all current requirements directly with the relevant exam provider before making purchases or finalizing your study plan.
Frequently Asked Questions
Q1. Is a practical exam-prep course worth paying for if I can study interior architecture on my own?
A1. It can be worthwhile if you need structure, deadlines, or feedback that you cannot obtain through self-study. If you can complete timed practice tasks, identify errors, and revise effectively, self-study may be enough. Compare the course feedback, included materials, and relevance to your actual exam format before enrolling.
Q2. Which tools should I buy first for a hand-drawn interior architecture practical exam?
A2. Start with tools that support clear drafting and presentation, but only after confirming what is permitted. Prioritize reliable basic drawing tools and materials you can use confidently under time pressure. Avoid buying specialist rendering supplies unless they match the required deliverables and your established workflow.
Q3. How many timed practice projects should I complete before taking a practical design assessment?
A3. There is no universal number. Continue until you can repeatedly turn a brief into a complete, readable proposal within the available time and can correct the same common errors consistently. Review each practice project to determine whether your remaining weakness is planning, drafting speed, rendering, or final presentation.