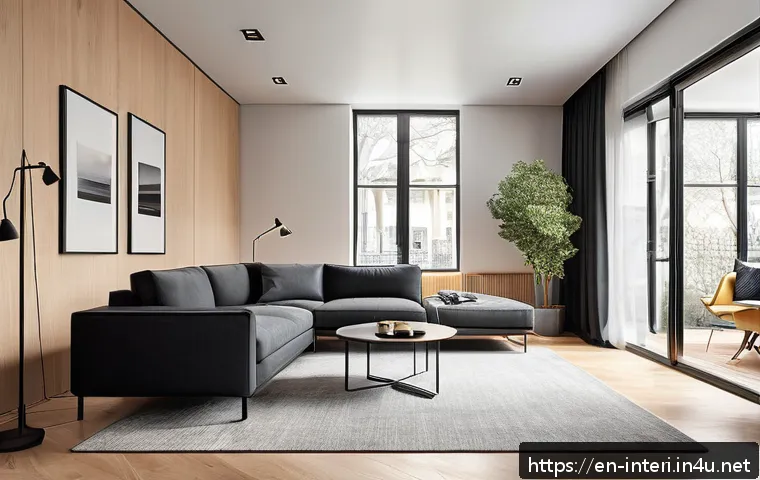
The basic principles of interior architecture studio are simple: design for people first, measure the existing space carefully, and coordinate every visible choice with how the space must perform.
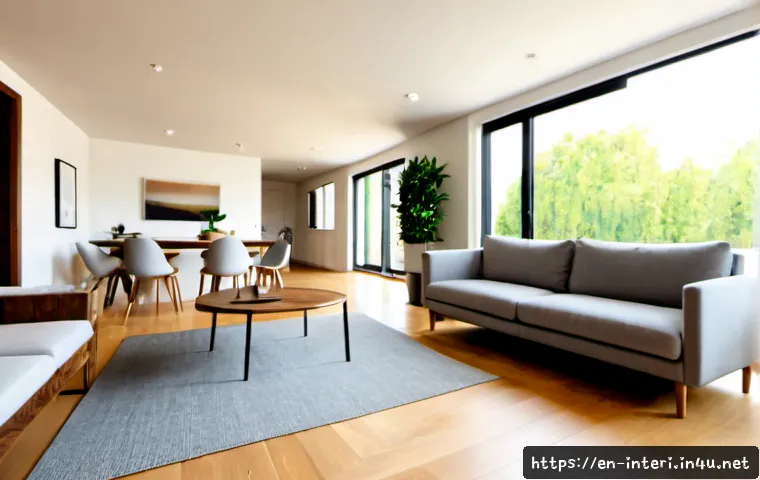
Sketching tools can be enough for early ideas, while paid CAD, BIM, or rendering software becomes more useful when drawings need coordination, revision control, client presentation, or construction-level detail.
A successful interior is not only attractive; it supports movement, comfort, safety, maintenance, and daily activities. Students often make avoidable mistakes by selecting finishes before planning circulation or by trusting unverified dimensions.
Comparing drafting software, rendering tools, material samples, and workspace equipment by actual project needs can prevent unnecessary spending. The strongest studio workflow moves from site information to layout, technical coordination, materials, and final documentation.
At a Glance
- Start with people and purpose: user activities, human scale, circulation, and accessibility should guide the layout before decoration.
- Verify the existing space: accurate measurements and documented site conditions help reduce drawing and installation errors.
- Choose tools and materials by value: compare workflow needs, durability, maintenance, safety, and coordination requirements—not appearance alone.
| Option | Best Use | Learning Curve | Collaboration Value | Cost Consideration |
|---|---|---|---|---|
| Manual drafting and sketching | Early concepts, quick space studies, learning proportion | Low to moderate | Limited for drawing coordination | Useful when a project is exploratory and simple |
| Entry-level CAD or design software | Floor plans, elevations, basic revisions, presentations | Moderate | Better for sharing clear drawings | Compare plan features, export options, and support before subscribing |
| Professional CAD, BIM, and rendering workflow | Complex coordination, detailed documentation, visual presentations | Moderate to high | Strong when multiple disciplines are involved | More valuable when project scope justifies training and software costs |
The Core Principles Behind a Functional Interior Space
The central rule is straightforward: an interior must work before it impresses. Interior architecture considers visual design as well as the functional performance of an existing interior space. A strong concept therefore connects atmosphere, layout, lighting, materials, and technical needs instead of treating them as separate decisions.
Start with Purpose, Users, and Daily Activities
Before selecting a style, define what happens in the room. Who uses it? What do they carry, store, clean, operate, or move around? A residential room may prioritize comfort and storage, while a retail interior may prioritize customer flow and product visibility. In every case, the layout should answer daily use questions before color palettes or decorative furniture are finalized.
Design for Human Scale, Comfort, and Safe Movement
Human scale, ergonomics, circulation, and accessibility are practical design tools. A plan should allow people to enter, turn, sit, work, and move without unnecessary conflict. Consider routes between doors, furniture, service areas, and frequently used equipment. Local accessibility requirements may apply, but the applicable rules depend on the project location and type.
Balance Visual Hierarchy with Practical Performance
Visual hierarchy helps users understand a space quickly. Lighting, contrast, focal points, texture, and furniture placement can direct attention. However, a dramatic material or feature wall still needs to meet practical expectations for cleaning, durability, safety, and replacement. If a design feature makes maintenance harder or disrupts circulation, it should be reconsidered early rather than corrected during installation.
Plan Space Before Choosing Finishes or Furniture
A polished material board cannot fix a weak layout. Space planning comes first because it affects furniture selection, lighting positions, electrical needs, and the final construction drawing set.
Measure Existing Conditions and Document Constraints
Record the existing interior carefully. This includes visible dimensions, openings, walls, ceiling conditions, and locations that may affect the design. Accurate site measurements and documented existing conditions help reduce drawing and installation errors. Do not rely only on a previous plan, a property listing, or an online image; conditions on site may differ.
Build Clear Circulation Paths and Usable Zones
Divide the plan into activity zones, then check how people move between them. A dining area, reception desk, sales display, workstation, or lounge needs more than a good-looking position—it needs usable access. A clear circulation path also makes it easier to identify where lighting, power, HVAC elements, and furniture may compete for the same space.
Check Furniture Clearances, Door Swings, and Service Access
Place furniture with real use in mind. Check door swings, seating movement, storage access, and the ability to reach service areas after installation. A plan can look balanced on screen while failing in real life if a cabinet cannot open fully or equipment cannot be maintained. Use verified product dimensions when available, and label assumptions that still need confirmation.
Compare Tools and Materials by Value, Not Appearance Alone
Good studio decisions are rarely about buying the most advanced product. They are about choosing the tool, software plan, rendering workflow, or material sample service that matches the stage and complexity of the work.
Manual Drafting, CAD, BIM, and Rendering Tools: When Each Is Worth the Cost
Manual sketches are effective for testing ideas, proportions, and basic circulation. Entry-level drafting software can be useful when plans, elevations, and revisions need to be communicated clearly. CAD or BIM tools become more valuable when construction drawings require coordination among architectural, electrical, plumbing, mechanical, and furniture elements. Rendering software can help explain lighting, material direction, and atmosphere, but a realistic image should not replace verified drawings or product information.
When comparing software subscriptions, focus on file compatibility, drawing output, collaboration needs, learning resources, technical support, and whether the workflow fits the project. A paid plan is not automatically better for a student project, but it may be worthwhile when it reduces avoidable coordination work.
Compare Finishes for Durability, Cleaning, Safety, and Replacement Needs
Material selection should balance appearance, durability, maintenance, safety, and budget. Ask what the surface will experience: moisture, foot traffic, spills, frequent cleaning, abrasion, or changing light. A finish that looks appropriate in a presentation may require more maintenance than the project can support. Also consider whether future repair or replacement would be practical if a portion is damaged.
When Material Boards, Samples, and Mock-Ups Justify the Expense
Physical samples can reveal differences that digital images often hide. Color, texture, slip resistance, and maintenance needs may be easier to assess through material samples and mock-ups before installation. This is especially useful when several finishes meet at one location, when lighting may change the perceived color, or when users will touch or walk on the surface regularly.
Avoid Common Studio and Construction Documentation Mistakes
The difference between a concept and a buildable proposal is usually found in the details. A careful documentation process does not remove every uncertainty, but it makes assumptions visible and reduces preventable confusion.

Do Not Rely on Unverified Dimensions or Online Product Images
Online images are useful references, not final evidence of scale, finish, or performance. Confirm dimensions, product availability, warranty coverage, and regional suitability through current supplier information where needed. Avoid placing an item in a final drawing only because it looks correct in a mood board.
Coordinate Lighting, Power, HVAC, Plumbing, and Furniture Early
Construction drawings typically need coordination among architectural, electrical, plumbing, mechanical, and furniture elements. A pendant light may conflict with a ceiling service. A furniture layout may block an outlet. A plumbing location may affect cabinet design. Review these relationships before the drawing package becomes difficult to revise.
Separate Concept Drawings from Build-Ready Drawings
Concept drawings communicate direction, mood, and spatial intent. Build-ready drawings need clearer dimensions, coordination, notes, and information appropriate for construction. Do not assume a visual presentation is enough for installation. Structural feasibility and local requirements should be reviewed by qualified project professionals where applicable.
Apply the Principles to Different Interior Project Types
Residential Spaces: Storage, Comfort, and Long-Term Maintenance
Residential interiors benefit from layouts that support routines and storage without making rooms feel crowded. Consider comfort, cleaning habits, daylight, and how finishes may age with everyday use. A durable material choice can be more useful than a visually striking option that is difficult to maintain.
Retail and Hospitality Spaces: Customer Flow, Branding, and Durable Finishes
Retail and hospitality interiors often depend on clear customer movement and a memorable visual identity. The design should direct attention without creating bottlenecks. Durable finishes, lighting layers, and coordinated furniture can support both branding and repeated public use. Fire safety and local code requirements may vary by project type and location, so they require project-specific verification.
Workplace Interiors: Flexibility, Acoustics, and Technology Needs
Workplace planning should consider focused work, conversation, technology access, and future changes. Acoustics matter because visual openness does not always support concentration. Furniture, lighting, power access, and meeting areas should be planned together rather than added after the layout is approved.
Selection Criteria and Comparison Summary
Before approving a direction, check these points: verified site measurements, usable circulation and clearances, lighting layers for the intended activities, material maintenance and safety needs, coordinated drawing information, and the right level of software or technical support. Use manual tools for fast learning and early exploration; consider paid CAD, BIM, or rendering tools when documentation, collaboration, and presentation demands increase. Compare software plans, material sample costs, and support options before committing. Official product pages are the right place to confirm current features, compatibility, availability, and terms.
Before requesting quotes, ask: Are the dimensions confirmed? Are finishes supported by samples or mock-ups? Are lighting, power, mechanical, plumbing, and furniture elements coordinated? Which local code, permit, and accessibility requirements need professional confirmation?
Final Thoughts
Interior architecture studio is not only about producing attractive boards or renderings. The best work links a clear concept to measurable space, realistic materials, and coordinated documentation. Practice the order of decisions: understand users, verify the site, plan movement, test materials, and communicate the result clearly. This approach makes both student projects and early professional work more reliable.
Useful Things to Know
Sketches are still valuable: they are often the fastest way to test an idea before opening drafting or rendering software.
Samples are decision tools: they can show texture, color variation, and practical surface qualities that screens may not reveal.
Software is a workflow choice: select it for the drawings and coordination you need, not simply for the largest feature list.
Important Notes
Local building codes, fire safety rules, permit requirements, and accessibility standards vary by location and project type. Exact software, fabrication, material, labor, and installation costs also vary. Product performance, warranties, regional availability, and structural feasibility should be confirmed through appropriate current sources and qualified project professionals when required.
Frequently Asked Questions
Q1. What are the most important principles to practice first in interior architecture studio?
A1. Start with purpose, users, accurate measurements, human scale, circulation, and clear furniture zones. These principles create a functional base before you develop finishes, lighting effects, or presentation visuals.
Q2. Is paid CAD or rendering software necessary for interior architecture students?
A2. Not always. Sketching and basic drafting can be enough for early learning and simple projects. Paid CAD, BIM, or rendering software becomes more useful when you need coordinated drawings, repeated revisions, collaboration, or stronger visual communication.
Q3. How should I choose materials that look good but remain practical within a project budget?
A3. Compare appearance with expected use, durability, cleaning needs, safety, and replacement considerations. Request samples or create a mock-up when color, texture, slip resistance, or maintenance could affect the final decision.